How to Pay NBI Clearance Using GCash in 2026 (Step-by-Step)

Paying your NBI Clearance fee with GCash takes a couple of minutes from your phone. Here’s exactly how to do it — by manual entry or QR scan — how much it costs, and how to confirm your payment went through.
To pay your NBI Clearance fee with GCash, open the GCash app, tap Bills → Government → NBI, enter the amount (₱160) and your NBI reference number, then confirm with your MPIN. Your NBI account updates to PAID, usually within an hour. You can also scan the QR code on the NBI payment screen instead of typing.
What You Need Before Paying
Have these three things ready so the payment goes through cleanly:
- A verified GCash account with enough balance (at least ₱160)
- Your NBI reference number from your online appointment
- A smartphone with a stable internet connection
No reference number yet? You get it from the NBI portal after filling in your details and choosing GCash as your payment method. Pay only after the reference number appears on screen.
How Much Is the NBI Fee via GCash?
The NBI Clearance fee itself is ₱130. When you pay through GCash, a convenience fee is added, so the amount you actually enter is ₱160.
| Item | Amount |
|---|---|
| NBI Clearance fee | ₱130 |
| GCash convenience fee | ₱30 |
| Total you pay via GCash | ₱160 |
Note: the standard e-payment total is around ₱155 (₱130 + ₱25), but the service fee depends on the channel — GCash specifically adds ₱30, making it ₱160. GCash may also offer an optional “protect your bills” insurance (about 1%, roughly ₱1.50); ticking it is entirely your choice.
How to Pay NBI Clearance via GCash — Step by Step
First, get your reference number from the NBI portal, then pay using either method below. Manual entry works for everyone; QR scan is faster when a code is shown on the payment screen.
Method 1 — Pay Bills (Manual Entry)
Log in to the GCash app and tap the Bills icon on the home screen.

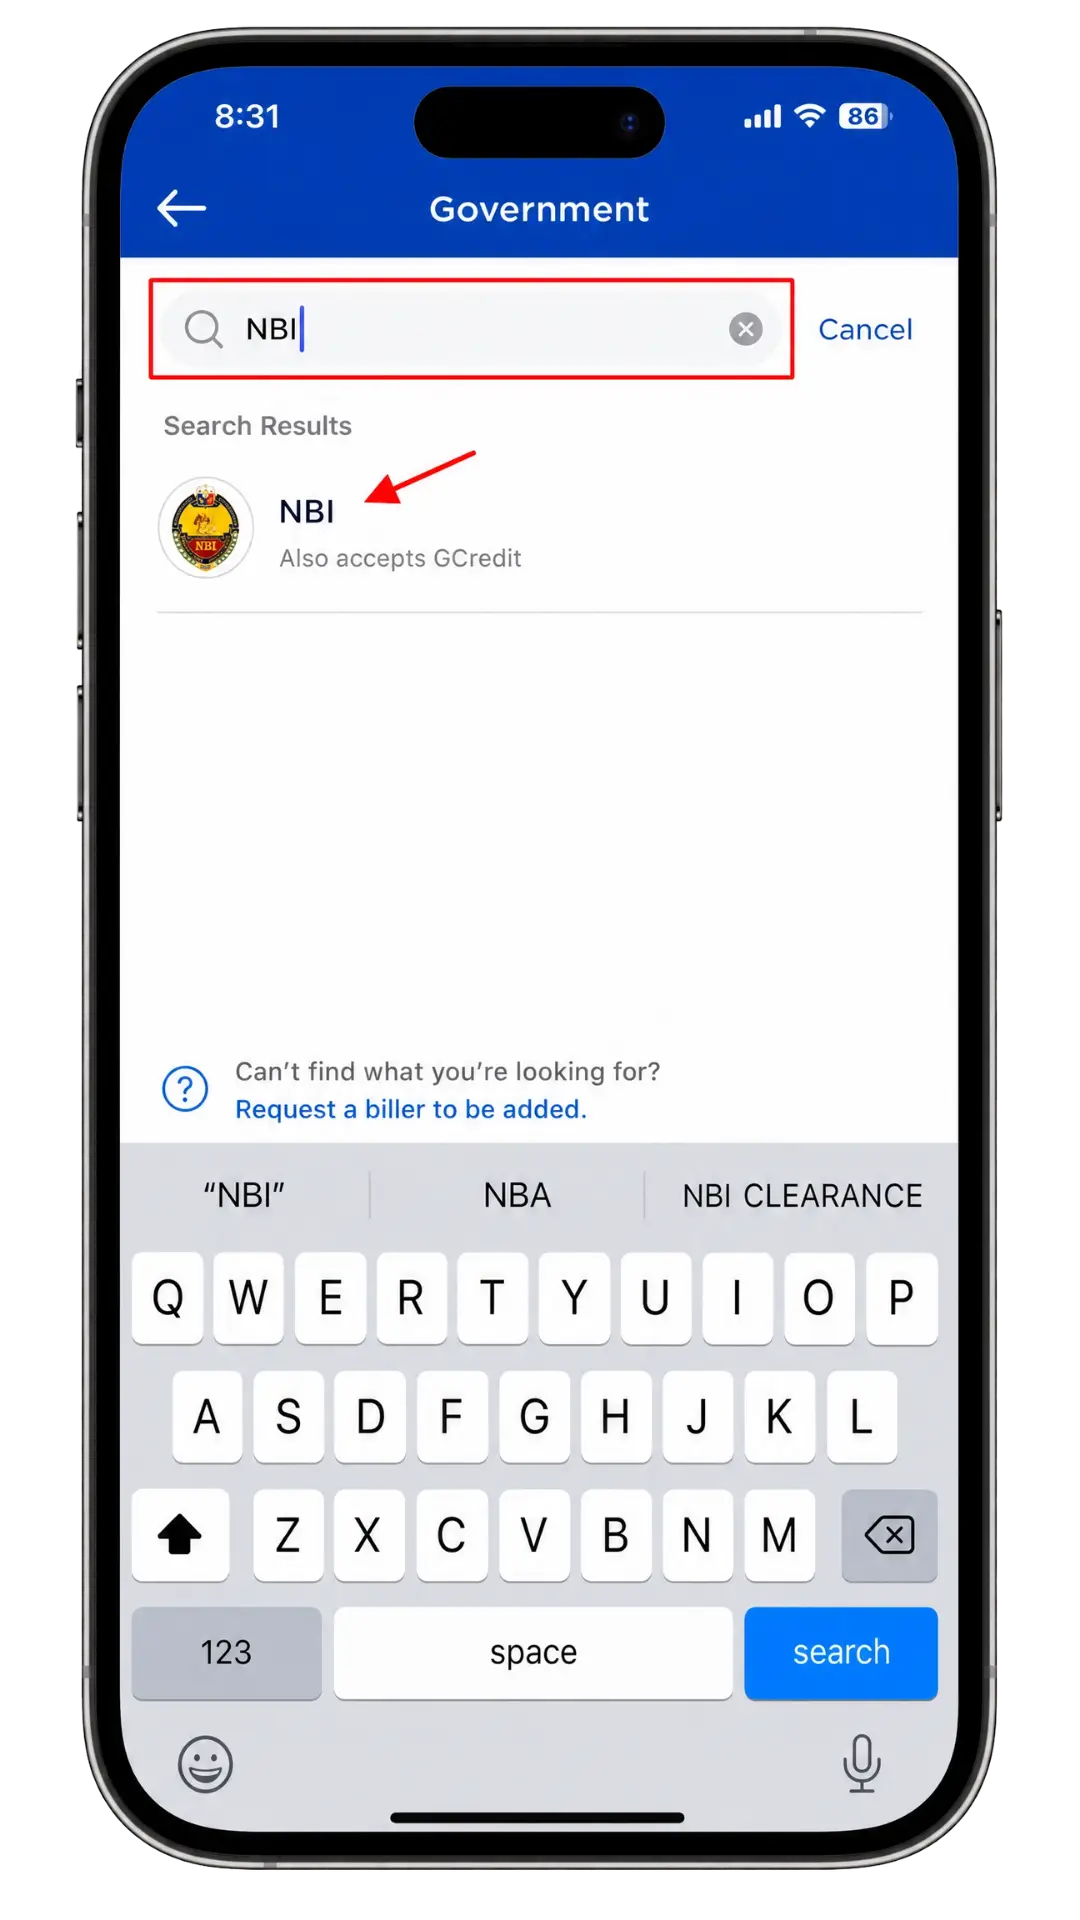
Choose Government, then NBI
Select the Government category and scroll to NBI, or type “NBI” in the search bar and select it.

Enter the amount
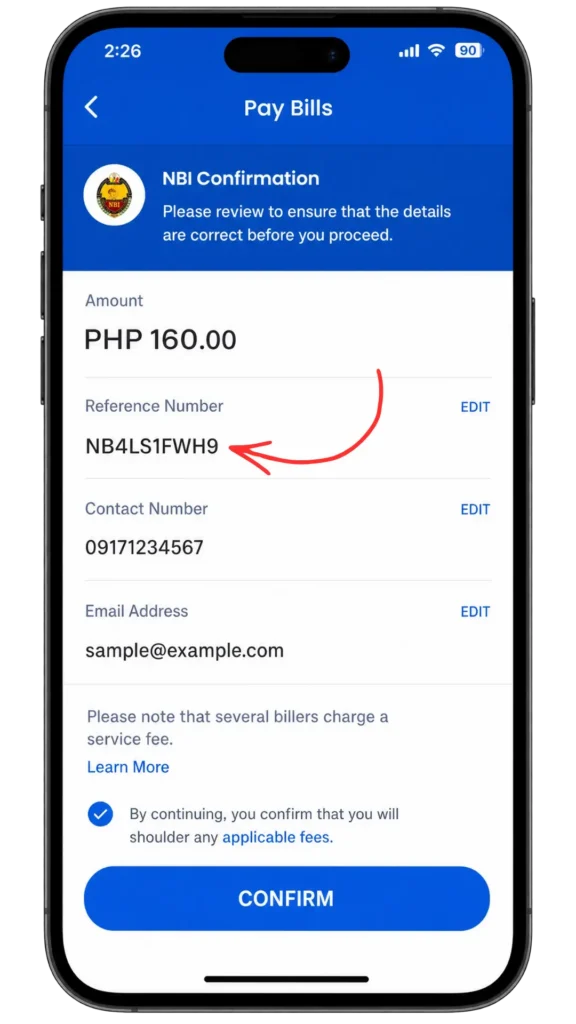
Type the exact amount shown on your NBI screen — ₱160 when paying via GCash.

Enter your reference number
Copy and paste it from the NBI page to avoid mistakes (a wrong “0” vs “O” will fail the payment).
Add contact details
Enter your mobile number, and your email if you want an emailed receipt (optional but recommended).

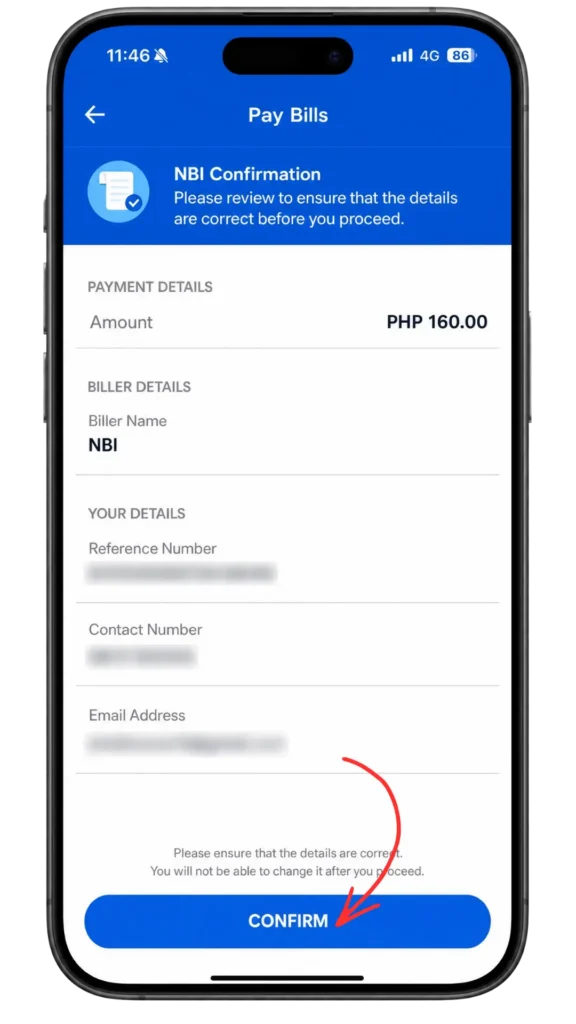
Confirm and approve
Review the summary, tap Confirm, and enter your MPIN. The payment processes in seconds.
Method 2 — Scan QR Code (Fastest)
Open GCash and tap Scan QR
From the home screen, tap the Scan QR button to open your camera.
Scan the NBI QR code
If a QR code is shown on the NBI payment page, centre it in the frame until GCash reads it.
Review and approve
Check that the amount and details match the NBI page, then confirm with your MPIN.
No QR code on screen? That’s normal — just use Method 1 (Pay Bills) instead. It works exactly the same way.
How to Confirm Your Payment Went Through
Check it in two places:
- In GCash: open Activity / transaction history — the NBI payment should appear as successful, and you’ll get an SMS (and email if you added one).
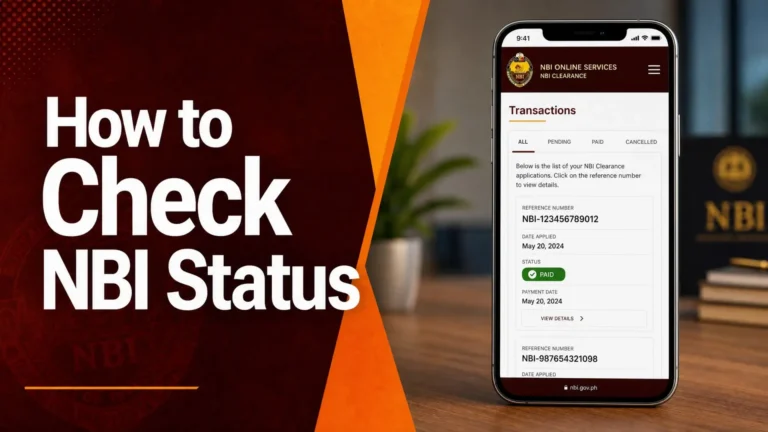
- In the NBI portal: log in and open the Transactions tab — the status changes to PAID.
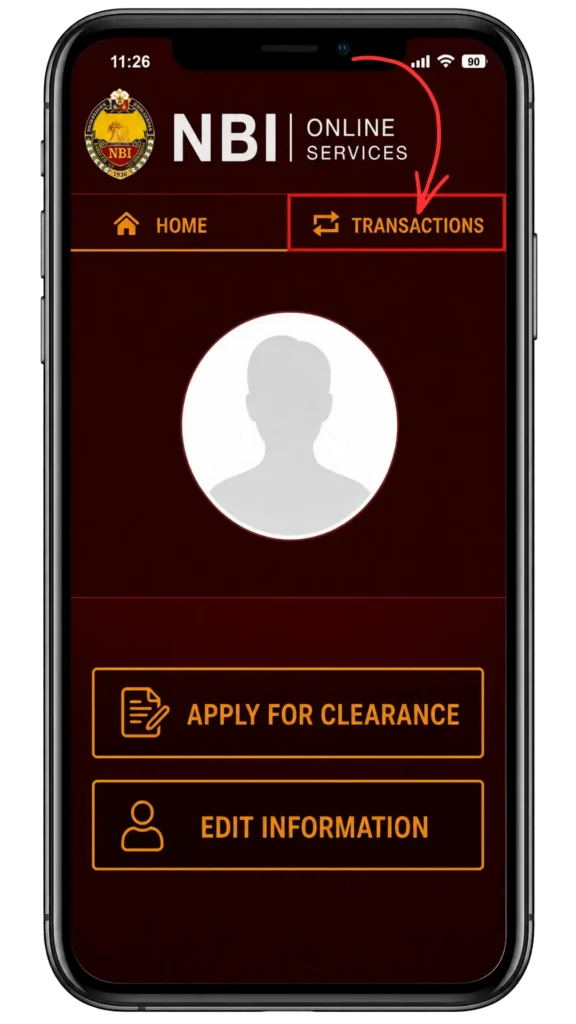
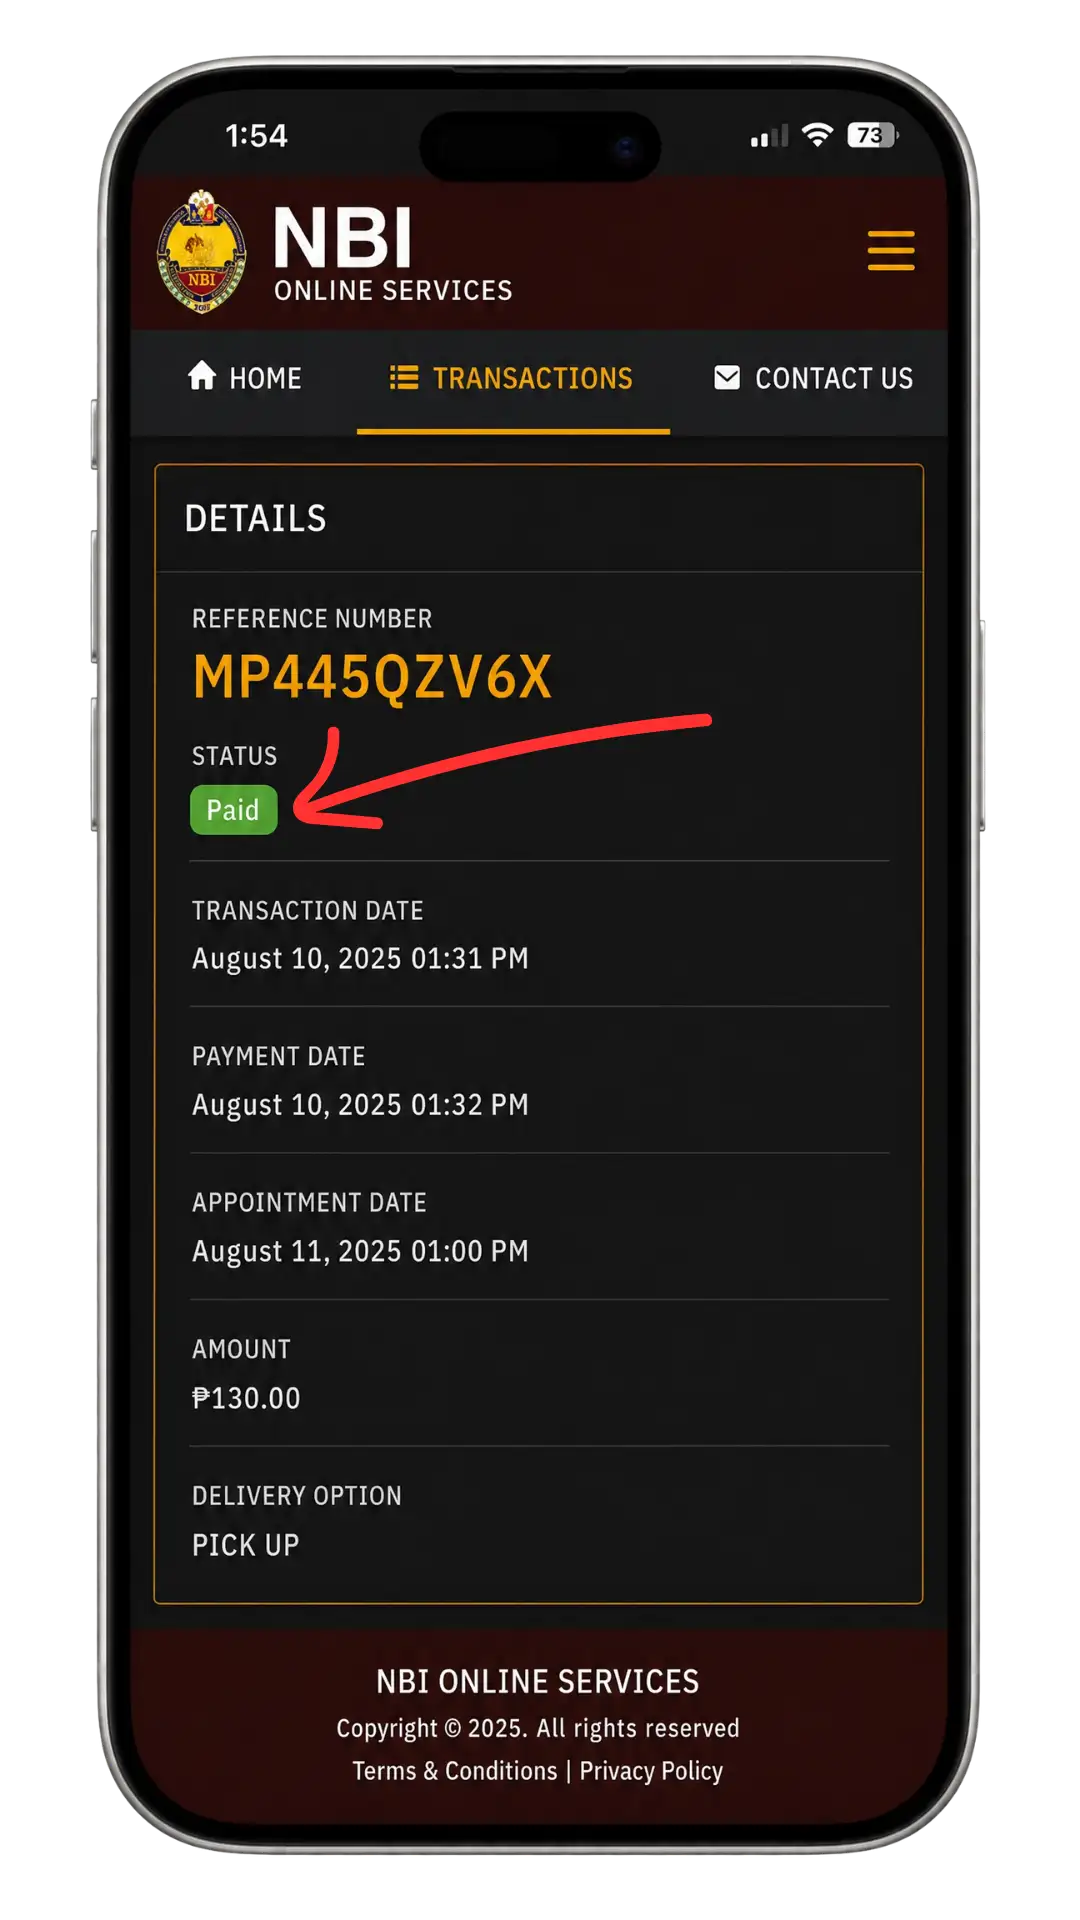
Posting usually happens within an hour, and the official window is up to 24 hours. Keep a screenshot of your GCash receipt as proof.
What If Your Payment Doesn’t Reflect?
Don’t worry — your money isn’t lost. Do this in order:
- Wait 1–2 hours; the system often updates on its own.
- Check GCash Activity to confirm the payment actually went through.
- If it’s still unconfirmed, contact GCash Help or NBI Support with your reference number and transaction details (and your receipt screenshot).
Frequently Asked Questions
Don’t Have GCash? Other Ways to Pay
GCash is the most popular option, but the NBI portal also accepts Maya (PayMaya), 7-Eleven (CliQQ), Bayad Center, and over-the-counter bank payments. You’ll see all of these when you reach the payment step. For the full booking flow, see our NBI appointment guide.
Conclusion
Paying your NBI Clearance fee with GCash is fast, cashless, and easy: get your reference number from the NBI portal, then pay ₱160 via Bills → Government → NBI or by scanning the QR code. Confirm the PAID status, keep your receipt, and head to your appointment.